Installation
This page is designed to help guide you through the process of getting Vape V4 downloaded and launched for the first time.
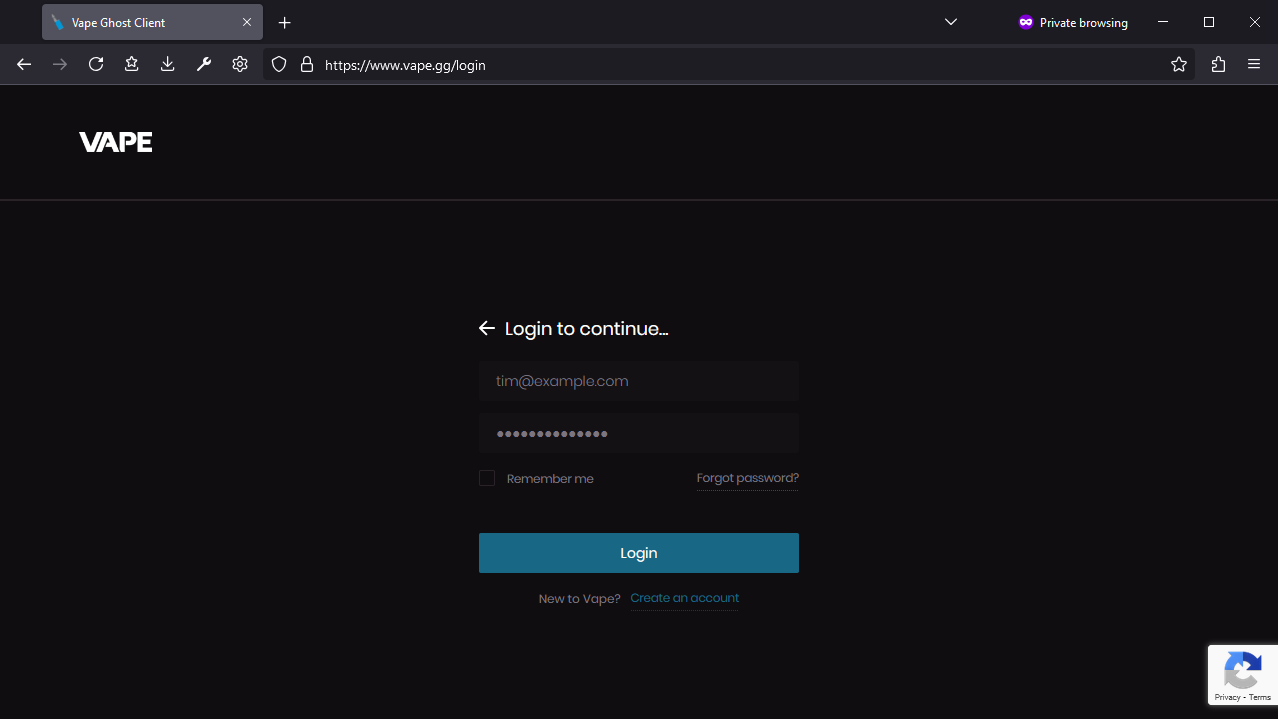
1: Login to the Site
Login to your account on the Vape Website.
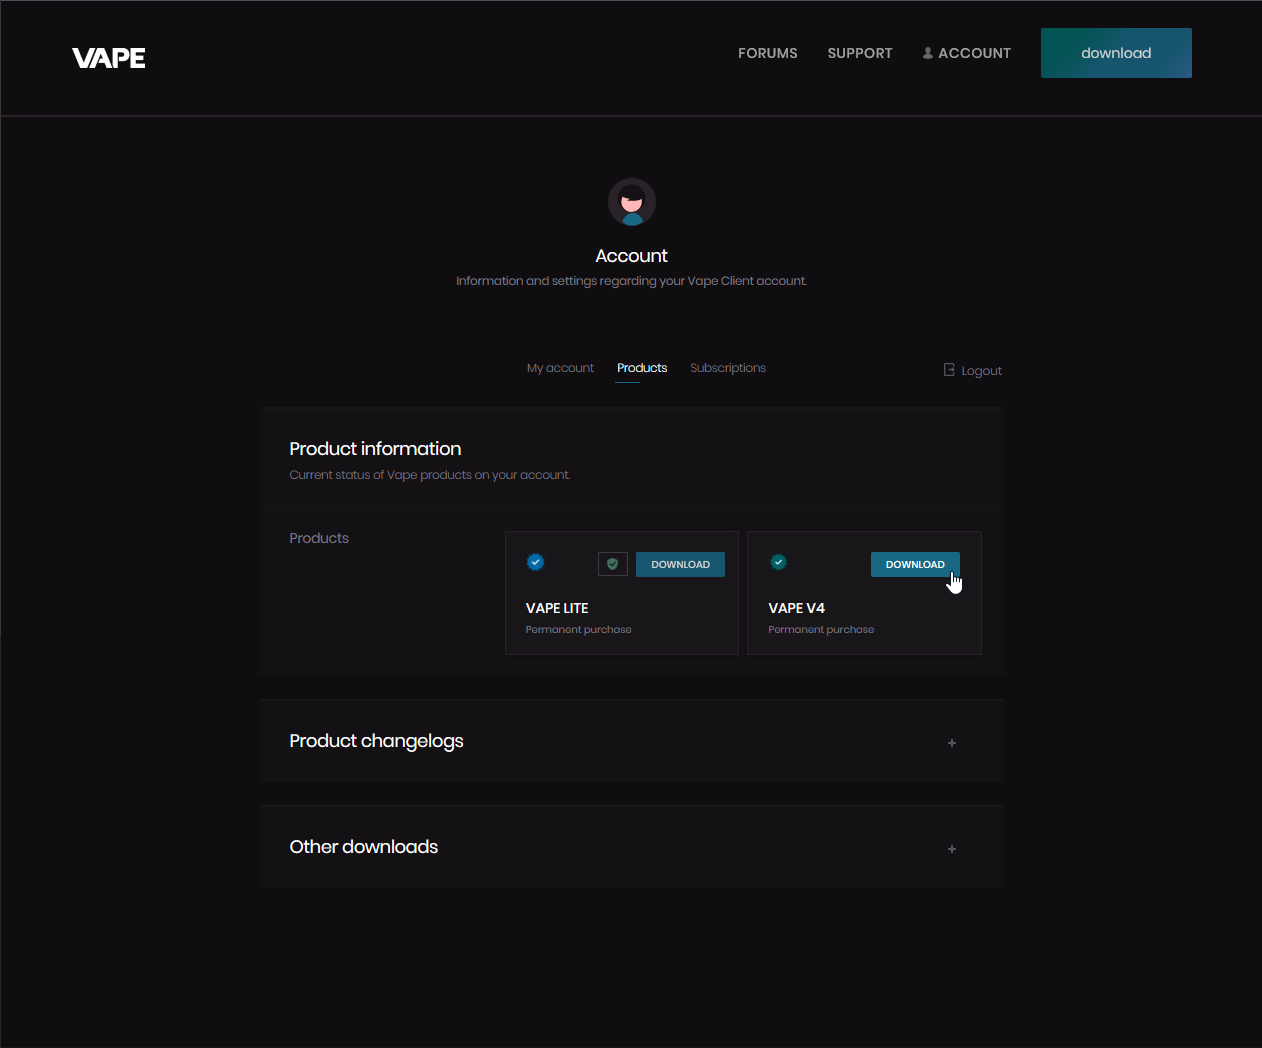
2: Download the Client
Navigate to the Downloads Page and download Vape V4.
Some anti-viruses may be hesitant to let you download our injector. This is a false positive, and can be safely ignored.
3: Open Minecraft
Open a Supported Version of Minecraft and wait until you're at the Main Menu screen.
4: Open the Downloaded File
Navigate to where you downloaded the Client to in Windows Explorer, then double-click the file to run the executable. Accept any UAC prompts that may pop up. At this point, you may be required to login to your Vape Account on the Injector itself-- if so, use the same credentials you used on the Vape Website.
5: Wait for Injection
Wait for the Launcher to close and finish injecting into your Game. The injector window will automatically close itself once it's finished it's job.
6: Open a Minecraft World.
At this point, Vape will already be injected into your Game and ready to go. All that's left is to open up it's GUI and start playing around with stuff. To do so, join any Minecraft World (singleplayer or multiplayer, does not matter), then press RSHIFT.
If the RSHIFT keybind to open the GUI does not work for whatever reason, you can always open the GUI by pressing CTRL+HOME.
7: What's next?
For new and returning users, we recommend checking out our quick start guide next. It is designed to help guide you towards Vape's most popular features, and get you started with using the Client itself.